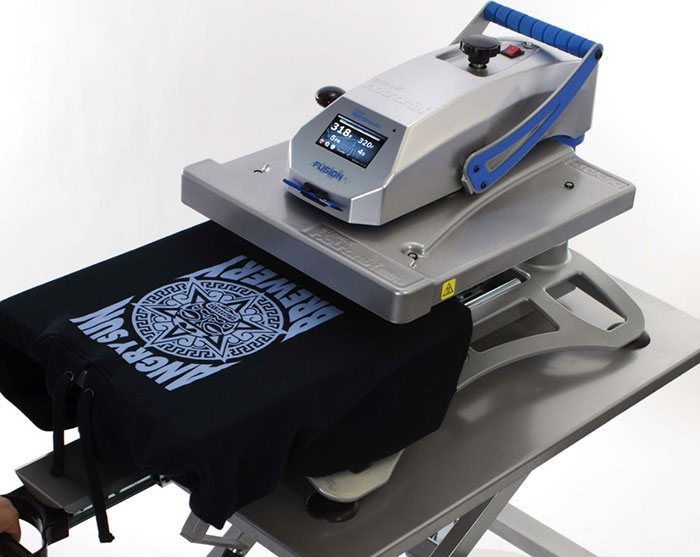
The CraftRobo and CraftRobo Pro by Graphtec is the latest exciting addition to BestBlanks.com equipment offerings.
An awesome feature on this under $300.00 cutter is the ARMS system.
ARMS stands for (Automatic Registration Mark Sensor) so that you can contour cut (die cut) printed media in full color from your laser or inkjet printer.
In English…It will take your heat transfers and cut them out perfectly within a fraction of a hair’s width!
The Craft Robo and its bigger brother the CraftRobo Pro. are inexpensive, fast, offer excellent cutting downforce, and include the optical ARMS sensor.
The fabric weight of a shirt is actually the weight of 1 square yard (3 feet x3 feet) of fabric. It gives you a quick number to evaluate the quality / density of the fabric used in the garment.
When you design is ready… Click <File> and then <Export>. You can then save it as a JPG or BMP. When you open it in your graphics program you will need to resize it.
When you are cutting thermoflex heat transfer vinyl in Roland Cut Studio Software, you need to reverse or mirror image your image/text before you cut it . This way, when you heatpress it , your image ends up reading the right way.
If your software doesn’t support flipping objects, try the free pdf995 printer driver. It’s a PDF generator, which means it takes your file (from Word, IE, etc) and “prints” or converts it to a PDF.
Once you download and install the software, follow these steps to print a mirror-image item:
Choose PDF995 from the Printer Name drop-down. Click the Properties button, and then the Advanced button. On the Advanced Options page, expand the Document Options section, then the PostScript Options section. Change the final list item to say Mirrored Output: Yes When you tell it OK to print, it’ll ask you where you want to save your PDF document. Pay attention to where you save it. Two ads will pop-up (unless you splurge for the $9.95 paid version of the software). Just click Continue using the sponsored version on the first ad, and close the second. Open your PDF file to see the mirrored (and, oddly, upside-down) output. Print this to your printer and use it to transfer.
This video tutorial will show you how to make your own trendy Rhinestone Heatpress Transfers. It showcases the Roland EGX-350engraver and the Engrave Studio software that comes free with the engraver. Using a heat press you apply the transfers that you made in the custom template.
One of the great things about Hanes Sublimation Maker 2.0 is that it takes care of all your needs for tile mural making and image preparation.
In this case, our mural of a cowboy will be 12×18 (3 - 6″ tiles x 2 – 6″ tiles). I cropped and resized this image to fit our needs within the SublimationMaker Program.
Click New on the Menu.
Select Mural in the “I Would Like to Open?” menu item. Choose custom Template
Click Next.
The next box will allow you setup the size of your mural. Here we are using 18.30″x12.20″.
The imported image will be displayed smaller than the size of the mural.
Press the shift key and click and drag the lower right hand corner to resize the image.
Your image should now fill the screen.
Click on “Mural” to display the “TILES” Menu selections.
Click on “Set Tile Size”.
For this example we are using a transfer size of 6.1″x6.1″ for a 6″ tile. This will give us a perfect edge to edge print. Also, this will take into account the spacers between the tiles.
You now have an image that has been divided into the proper grid for a mural.
Clicking on “Preview print” and then “Preview 4″ will allow us to see how many pages our mural will need.
In this example, I am using 8.5″x 14″ known as Legal Size. This will allow me to print two tiles on one page which really maximizes the use of my dye sublimation paper.
Then click “Print”.
If we are using PowerDriver for our sublijet inks, the PowerDriver will automatically mirror the image. Select “NO” to mirroring the tiles.
Congratulations!
You are now ready to print and press your dye sublimation tiles which I will cover in a future post.
On a personal note, I enjoy helping out fellow decorating professionals. If you found this blog helpful and would like my direct help to expand your decorating business please call me at 888-431-7385 Ext 201
How to make a tile mural using CorelDraw Many people ask me how to make a larger tile mural using theirheat press and dye sublimation tile. Here is a tutorial on making one using 6 inch tiles for a 6 tile mural that is 12″x18″.
Using Photoshop, Corel Paint or any photo editing software, you must first prepare your image to the appropriate size. In this case our mural of a cowboy will be 12×18 (3 - 6″ tiles x 2 – 6″ tiles). I cropped and resized this image to fit our needs.
The actual tile size is 6″, so we need to give a little extra “bleed” so that our tile will be fully printed from edge to edge..in this case 6.1″ should do the trick. For a 12″x18″ tile mural, our overall graphic would need to be sized 12.2″x18.3″.
Our first step in Corel Draw is to change our working page size to contain our entire mural. In this example, we will set the size to 14″x20″.
The next step is to create our grid using in Corel Draw what is called the “graph paper tool”. This will create a 3×2 grid as specified in this area here…
Using the Graph Paper Tool, click and pull the box into shape. Here below is the result. Notice that the grid boxes are not properly sized.
Next, we are going to size our grid by selecting it and changing the size in the property size box here…
Which will give us a grid of the proper size 12.2″x18.3″, shown below…
It is a great idea at this point to save this template for future use in a template folder on your hard drive.
We are now ready to import our image from the File Menu by clicking here…
Select your image and now our image now appears. Using our cursor, we choose the imported image and from the Effects Menu, choose PowerClip and then “Place inside the Container”.
Then click on the grid, which will place our imported image within the grid. It should look like this…
We move our “PowerClipped” Image over to the side and get ready to separate the individual tiles by choosing the Arrange Menu and then “Ungroup.”
We now resize our page to reflect what kind of paper we will be printing our transfers on. In this example, I am using 8.5″x 14″ known as Legal Size. This will allow me to print two tiles on one page which really maximizes the use of my dye sublimation paper.
You may now move your tiles one by one over to the blank page. Add more pages until all your tiles are placed.
Congratulations! You are now ready to print and press your dye sublimation tiles which I will cover in a future post.
On a personal note, I enjoy helping out fellow decorating professionals. If you found this blog helpful and would like my direct help to expand your decorating business please call me at 888-431-7385 Ext 201